Recovery: Practice Rock
< Previous
Index
Next >
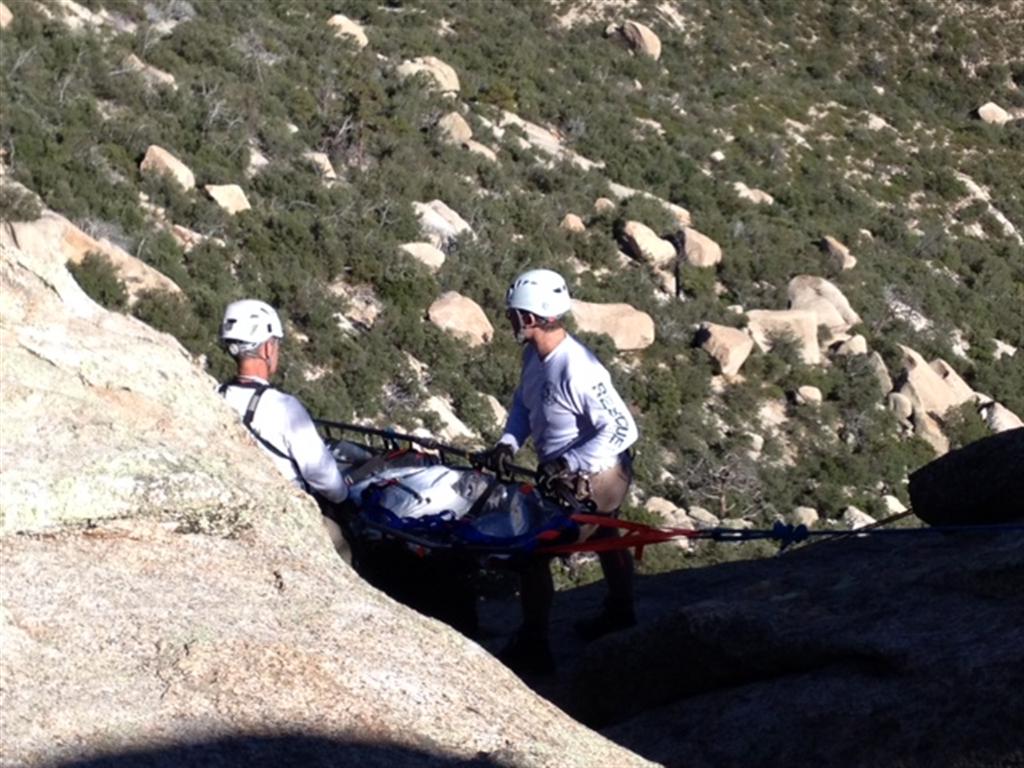
photo 11
< Previous
Index
Next >